Authentication in the Nooxl REST-API
API-Login
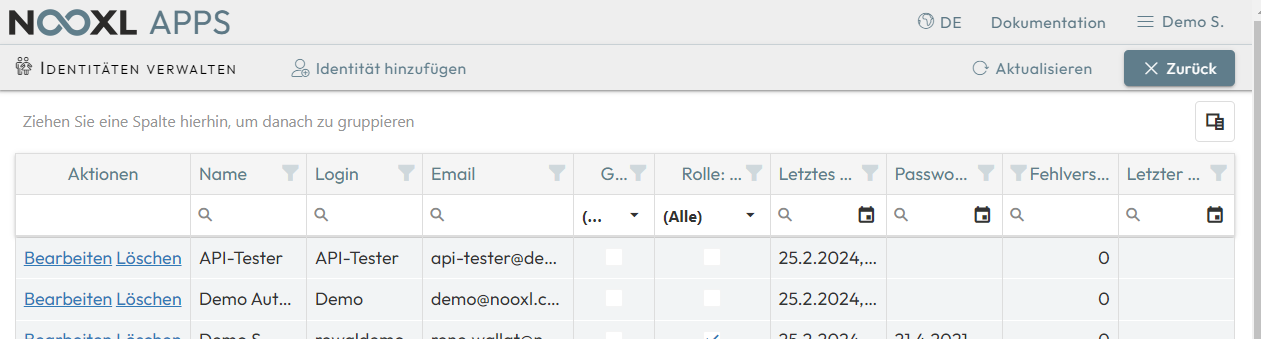
Authentication in Nooxl Apps can be done in two different ways, depending on the setting. The first way is to login with a Microsoft Account or Office 365 Account. The second way uses the Nooxl Identities Manager of the Nooxl Apps environment for API authentication. Authentication is then done via an API login with a login and password for users who have been created in the Nooxl Identities Manager by a system user and who have been assigned the necessary rights in the Nooxl App. This method is also used in the examples.
The API user must successfully login at least once directly in the Nooxl Apps before using the API.
Setting the language/culture for the API login in the Nooxl App plays a role in the formatting of numerical values, for example in the REST-API “model calculate”. We recommend setting English as the language. The language is set when assigning a user for the API login in the Nooxl Apps environment.
Parameters in the REST-API Url
The REST-API “authenticate” is called with the following parameter:
https://{nooxlApiHostName}/api/v1/app/login/authenticate
The name of the Nooxl API server nooxlHostName depends on the installation and is e.g. for the Nooxl Demo Apps https://ncs-demo.nooxl.com.
This inserts the parameter into the URL as follows:
https://ncs-demo.nooxl.com/api/v1/app/login/authenticate
Parameter in the REST-API Body
In the request body, Login and Password are passed. To login to the Nooxl API demo server, the body looks like this:
{
    "Login":"API-Tester",
    "Password":"ivtP@t>UN>KF9"
}
REST-API response
After calling the REST-API, Nooxl Apps returns a response body if successful. In case of an error, an error message is returned. The response body for our demo request looks like this:
{
    "AuthKey": "_vT...",
    ...
    "TimeZoneOffset": -1,
    "Token": "eyJhb.....CQ"
}
Of the result, only the token value eyJhb...CQ is needed. With further calls of the REST-API, an Authorization header with a bearer text plus the token, such as Bearer eyJhb...CQ, must then be sent. The access token expires after a certain period of time (depending on the server settings) and must then be renewed.